
Set up your MBTA Arrival Sign!
Setup in minutes.
Connect Wi-Fi, pick your platform, and you're live.
Unbox & Power On
Your sign comes with everything you need including a 5V 3A power supply with 6 foot cord. Plug in and the display will power on.
- Connect power supply to the sign
- Plug into any standard outlet
- Wait for the startup sequence to complete
Connect to Home Wi-Fi
The sign will create a temporary hotspot for initial setup. Connect to it from your phone or computer.
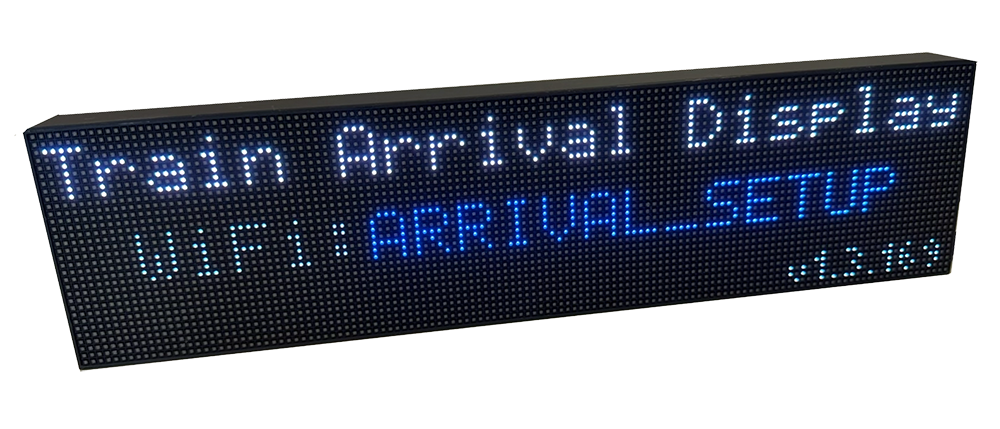
- Go to your phone's Wi-Fi settings and copy the password to your clipboard or write it down
- Look for 'ARRIVAL_SETUP' in your Wi-Fi networks
- Connect to the sign's temporary network
- A setup page will open automatically (hang tight...it may take some time for it to open)
- Enter your home Wi-Fi credentials
- The sign will connect to your Wi-Fi network and restart
Pair From Your Phone
Visit the setup URL listed on the display from any browser. No app or subscription needed.
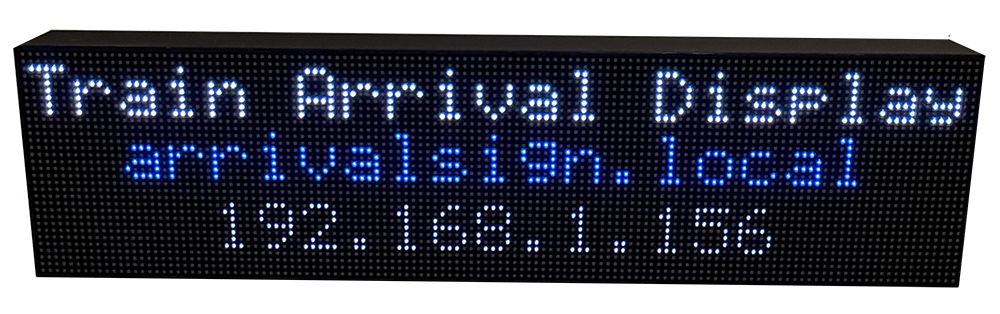
- Open the URL shown on your sign's display (works best if you are on same wifi as what you assigned to the board)
- Very important: Add http:// to the start of the URL...do not use https
- Bookmark the page to quickly update the station
- All configuration happens through this page
Select Line → Station → Direction
Choose your preferred line, station, and which direction you travel. The sign will start displaying real-time arrivals immediately.
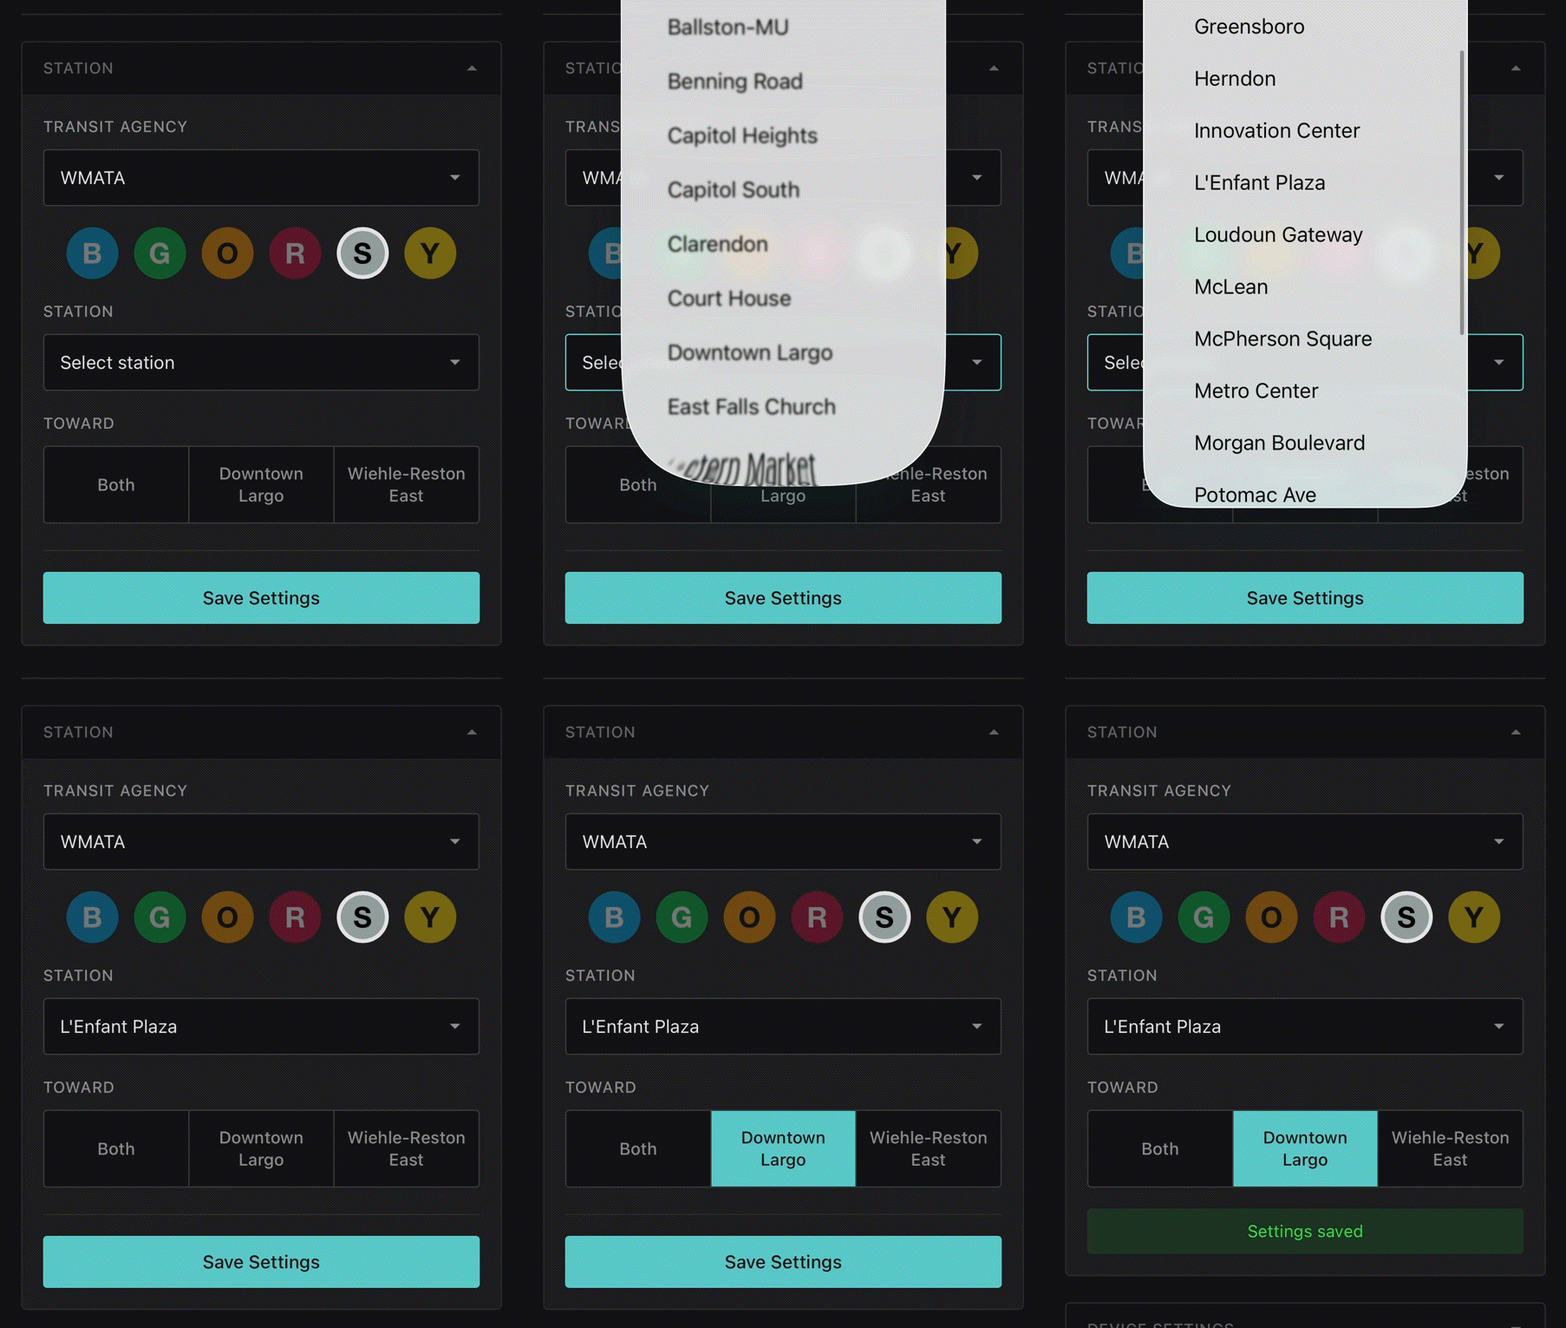
- Choose your transit line
- Pick your home station
- Select your typical travel direction
Use the Side Buttons
Use the side buttons to switch directions, dim the screen & more!
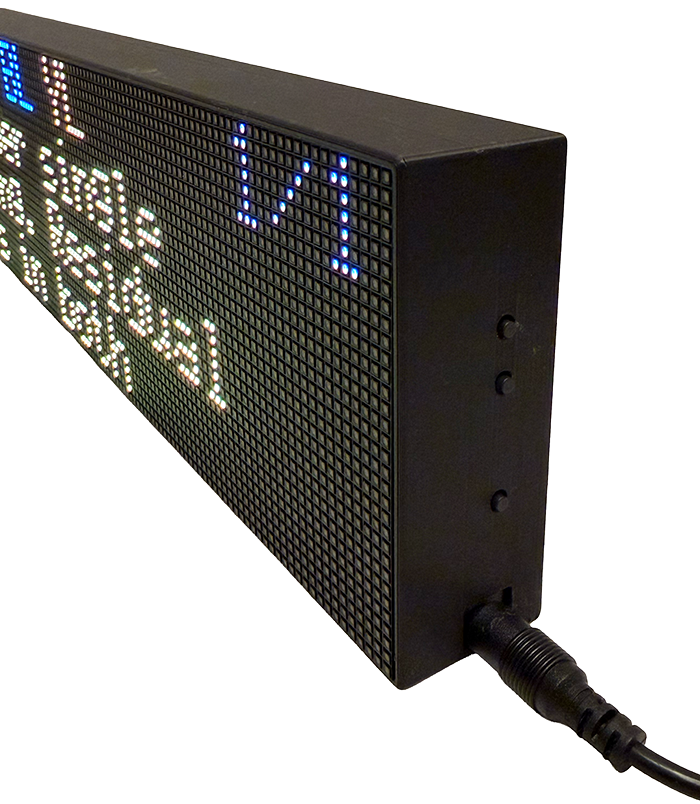
- Switch Directions: Bottom Button (Single Press)
- Dim the Display: Top Button (Single Press - Choose from 5 Settings)
- Show Device Address: Middle Button (Single Press)
- Factory Reset: Hold top 2 buttons for 10 Seconds
Service Alerts
When there are delays or disruptions, your sign will display service alerts automatically.
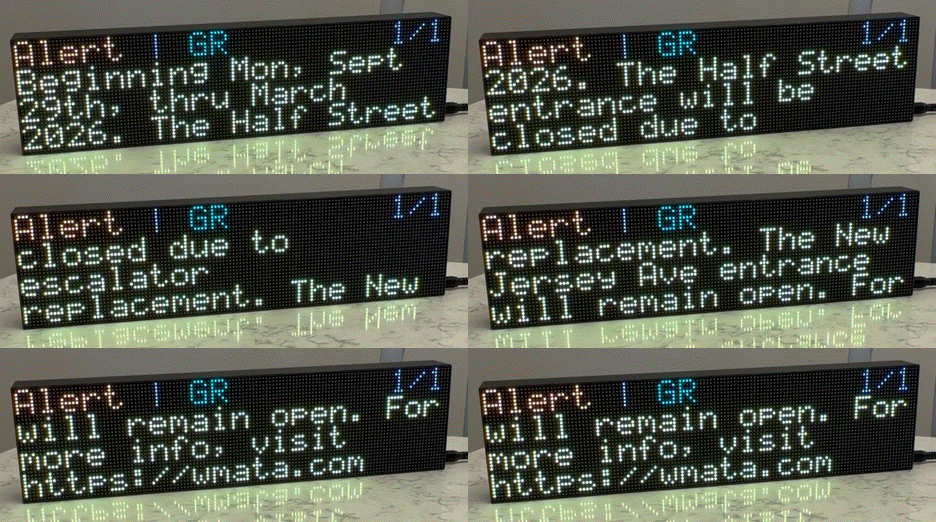
-
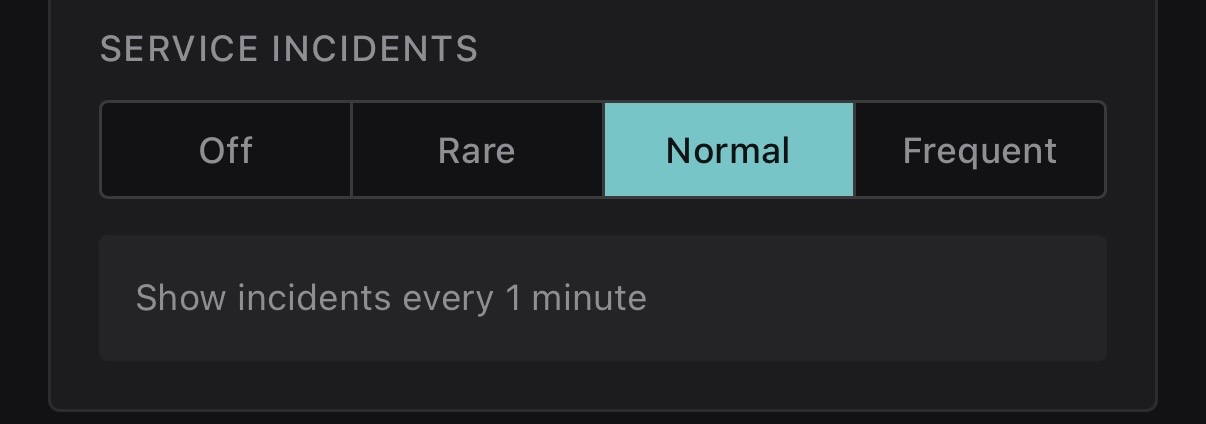
- Choose how often alerts should show: every 30 seconds / every minute / every 2 minutes / No alerts
- Shows delay information when available
- Clears automatically when service resumes
- No action needed—fully automatic
Choose Display Mode
Pick the view that works best for you: Compact shows 3 arrivals, Large shows 2 arrivals with bigger text.
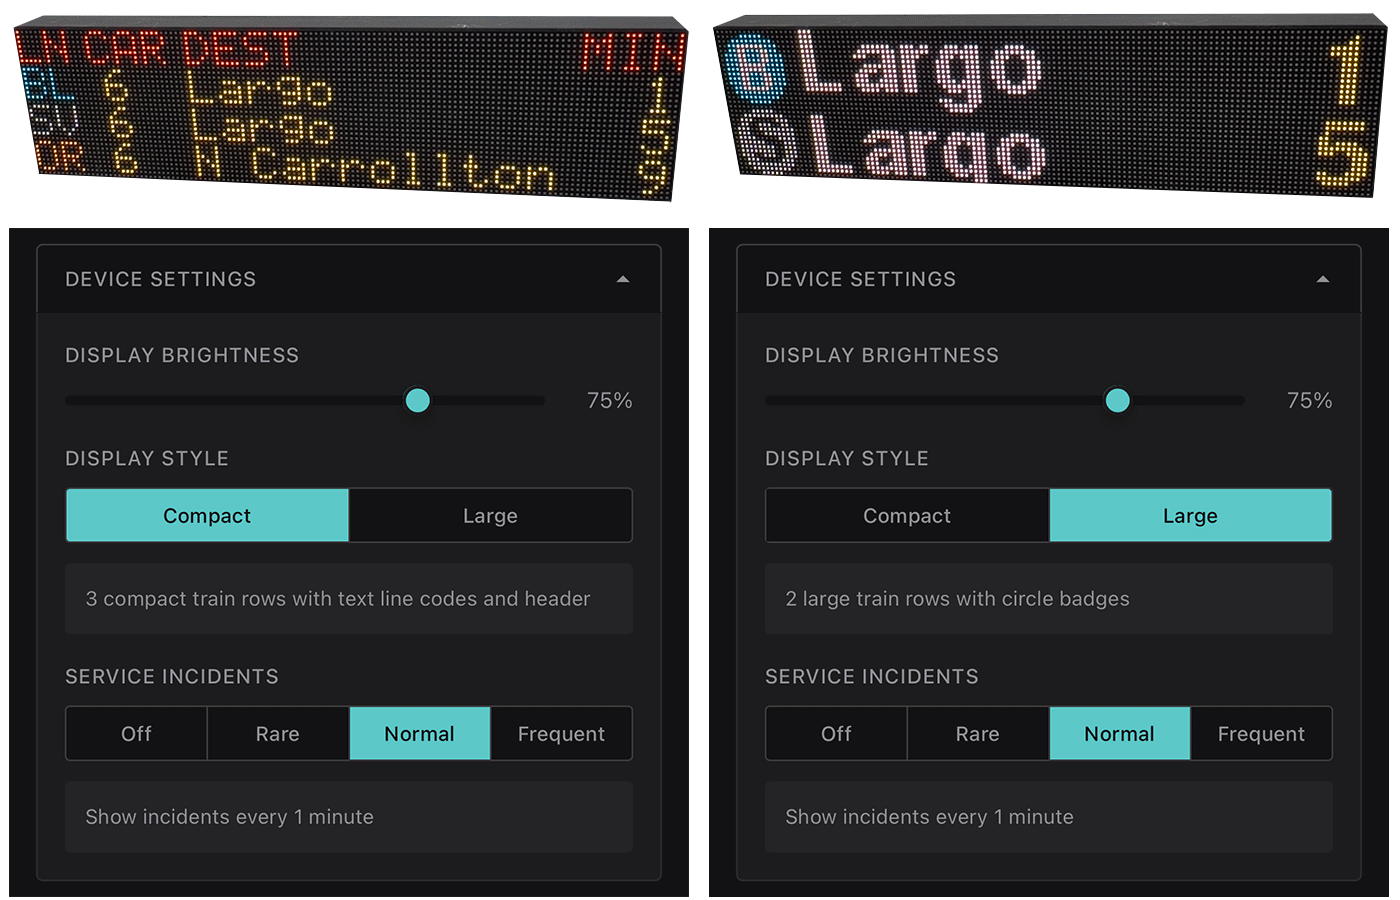
- Compact Mode: 3 train updates, smaller text
- Large Mode: 2 train updates, bigger text
- Change anytime from your phone
Set Sleep Mode Schedule
Schedule hours for the display to turn off automatically. Great for nighttime or when you're away.
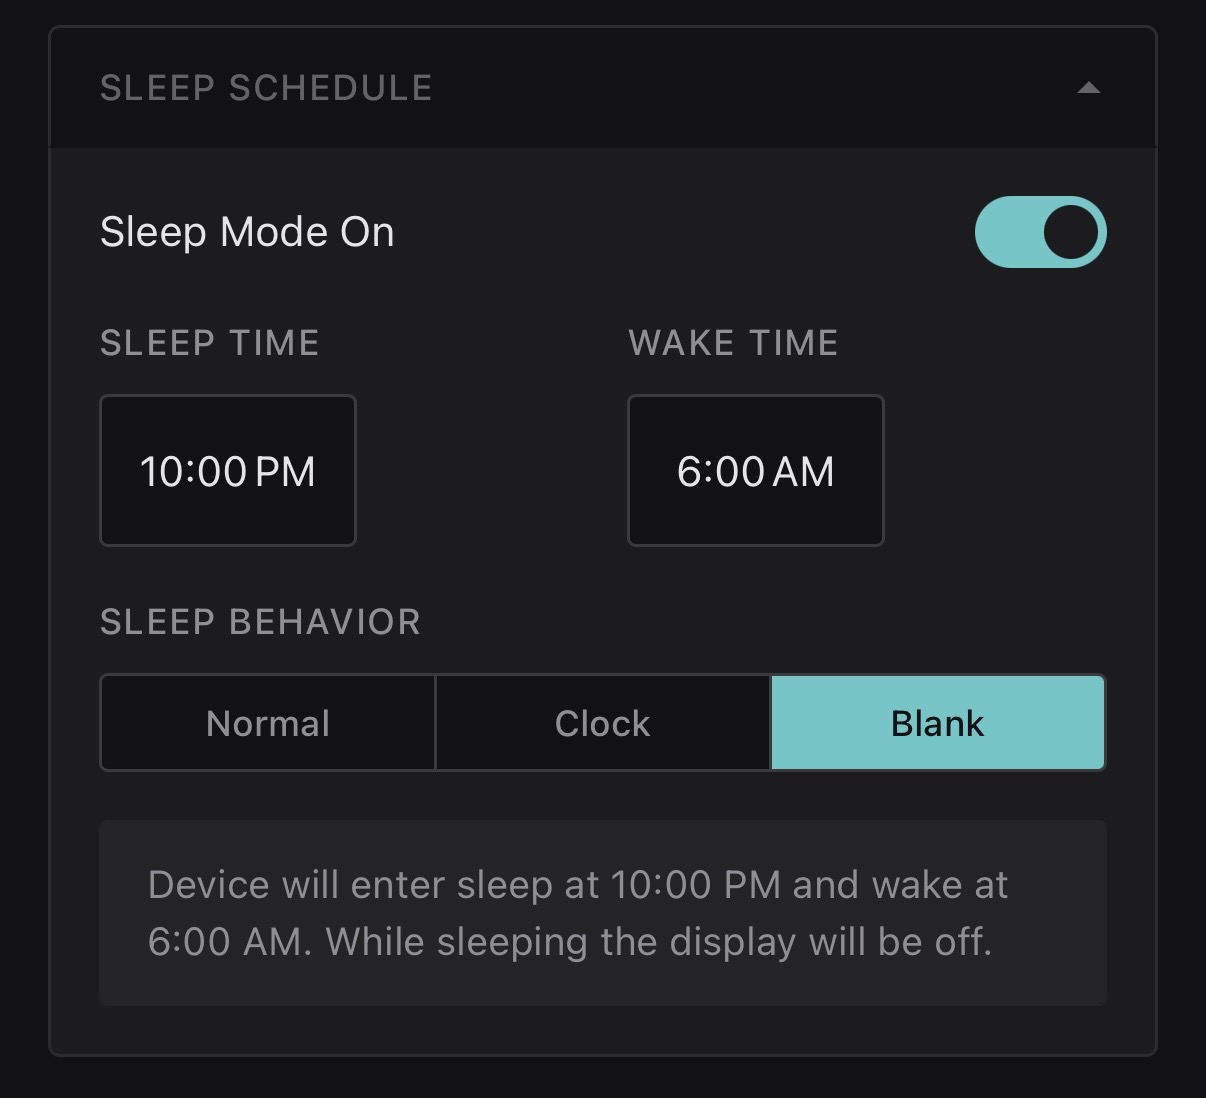
- Set start time for sleep (e.g., 11 PM)
- Set wake time (e.g., 6 AM)
- Display turns off to save energy
- Wakes up automatically on schedule
Software Updates
We are always making software updates to improve performance and new features.
- Check the Firmware Updates section in the admin page
-
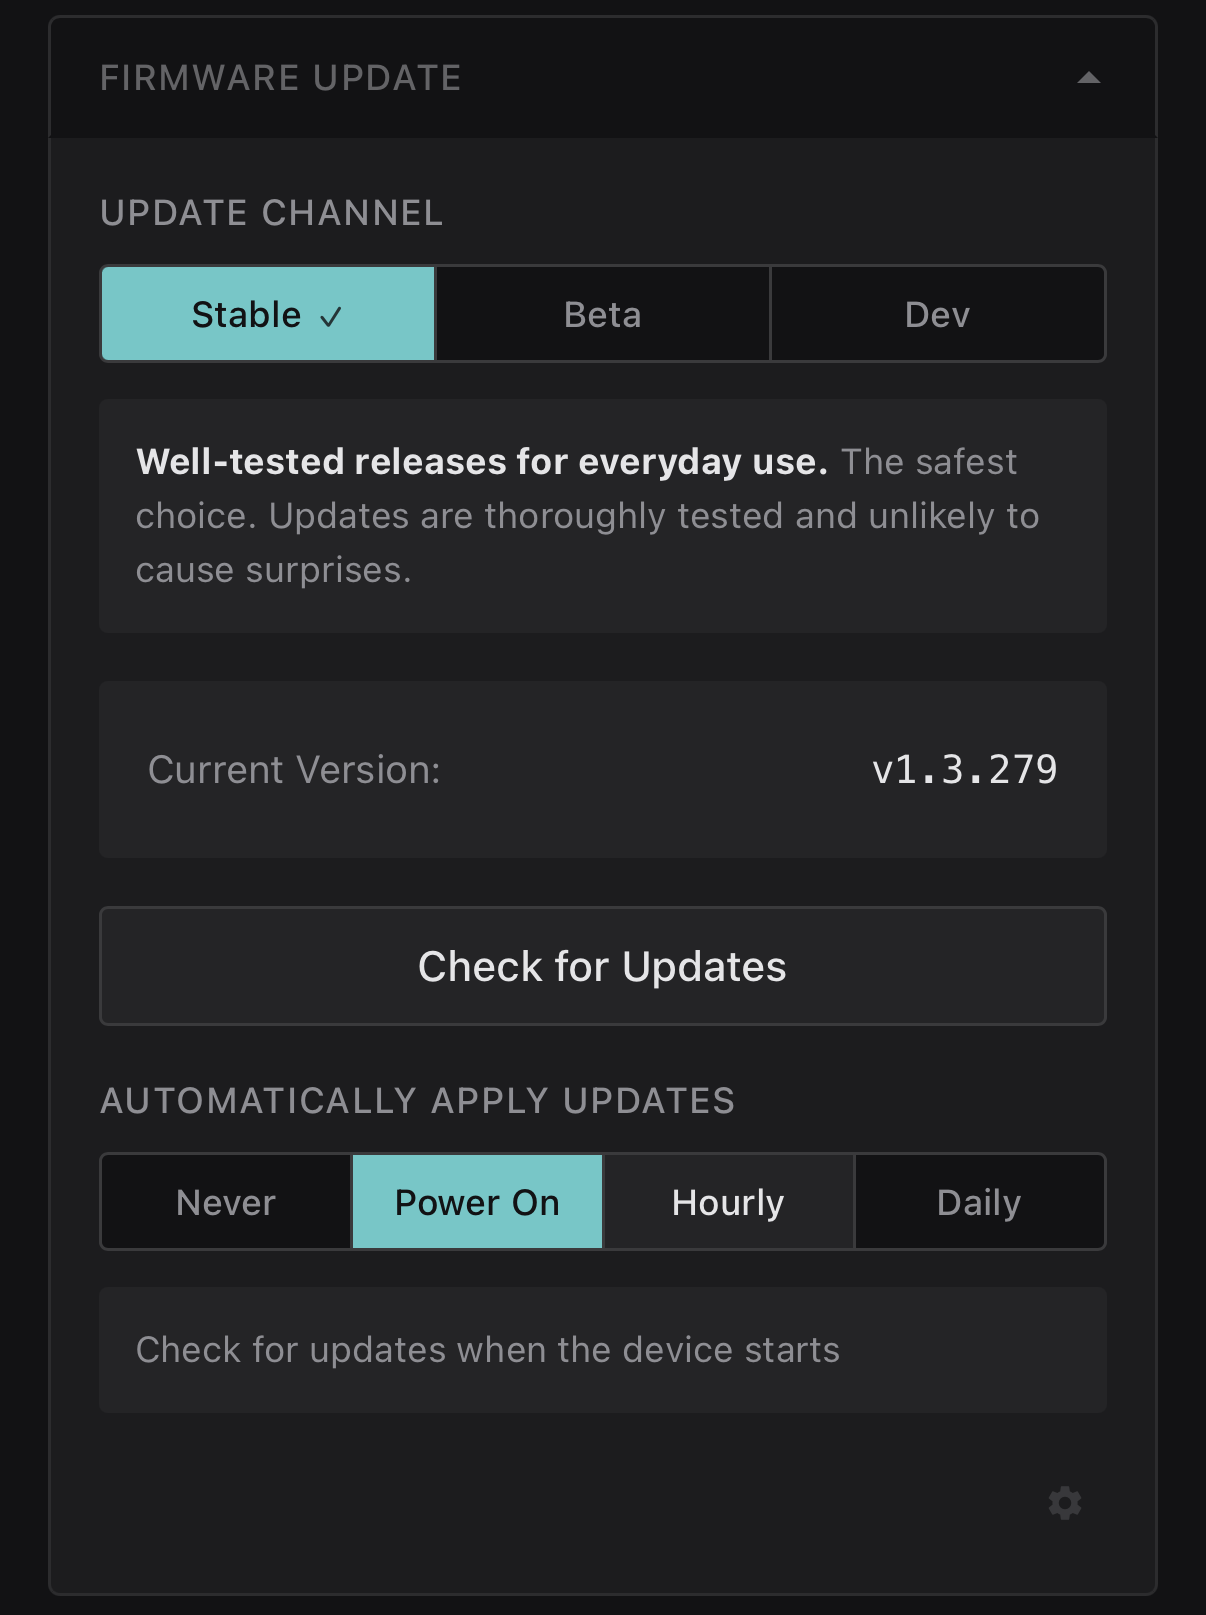
- Updates happen automatically over Wi-Fi
-
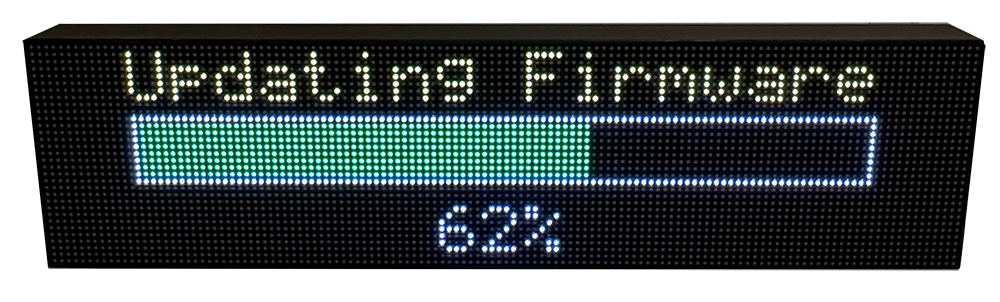
- New features added regularly